Posts tonen met het label tutorial. Alle posts tonen

zaterdag 16 februari 2013

DIY sleutelhanger


Als je net als ik moeilijk dingen weg kunt gooien, heb je vast ook een zak vol met stofrestjes thuis liggen. Maar wat doe je daar nou mee? Een sleutelhanger maken bijvoorbeeld!

//If you are just as bad in throwing things away as I am, you probably also have a huge amount of fabric leftovers. But what to do with it? Make a keychain out of it!//


- een stukje stof met motief (het hoeft geen fiets te zijn, maar het motief moet niet te klein zijn!) // A piece of fabric with print (it doesn't have to be a bike, but the motif shouldn't be too small)
-een stukje stof voor de achterkant (dat hoeft niet dezelfde stof te zijn)// a piece of fabric for the back (doesn't have to be the same fabric as the front)
-stofband//fabric strap
-vulwol //cotton stuffing
-een schaar//a pair of scissors
-naald en draad //needle and thread
-een sleutelring // a keychain ring

zaterdag 9 februari 2013

Oh geometrie! (DIY viltboek tutorial)

Herinneren jullie je nog aan mijn 'Where the wild things are' viltboek? Voor het online magazine Oh Marie!, heb ik opnieuw een viltboek gemaakt. Deze keer zoals eerder beloofd, inclusief tutorial. Vandaag is de nieuwe Oh Marie! verschenen en naast mijn tutorial, staat het nieuwe nummer vol met leuke artikelen over photography, styling, treasure hunting, muziek en mannen met poesjes (ja, echt!). Ben je benieuwd? Klik dan hier (of hier voor de smartphone en tablet lezers) om het het nieuwe nummer gratis te lezen!

//Do you remember my 'Where the wild things are' felt boek? For the online magazine Oh Marie! I made another felt book. This time, as promised earlier, including tutorial. The newest issue of Oh Marie! was published today and besides my tutorial the issue is full of great articles about photography, styling, treasure hunting, music and men with pussys (yes, for real!). Are you curious? Then you should click right here (or here for the smartphone and tablet readers) to read the newest issue for free!//


Photo: ©Andrea Maassen
Follow on Bloglovin

zondag 6 januari 2013

DIY Vilt Boot


De zeemannen en bootjes blijven maar terug komen op mijn blog (obsessie? ;))...Dit keer een snel en makkelijk vilt boot tutorial. Je kunt het bootje als sleutelhanger gebruiken of er een broche van maken. Of het volgend kerst in de kerstboom hangen natuurlijk, maar daarvoor is het misschien nog een beetje vroeg...

//The sailor boys and boats keep returning on my blog (obsession? ;))...This time a quick and simple felt boat ornament tutorial. You could use the boat as a keychain or make a brooche out of it. OR you could use it as christmas tree ornament next christmas, but it might be a bit early for that...//


* een lapje vilt//a small cloth of felt
* borduurgaren // embroidery thread
*een schaar//scissors
*een naald//a needle
*een klein beetje vulwol//a bit of wool batting

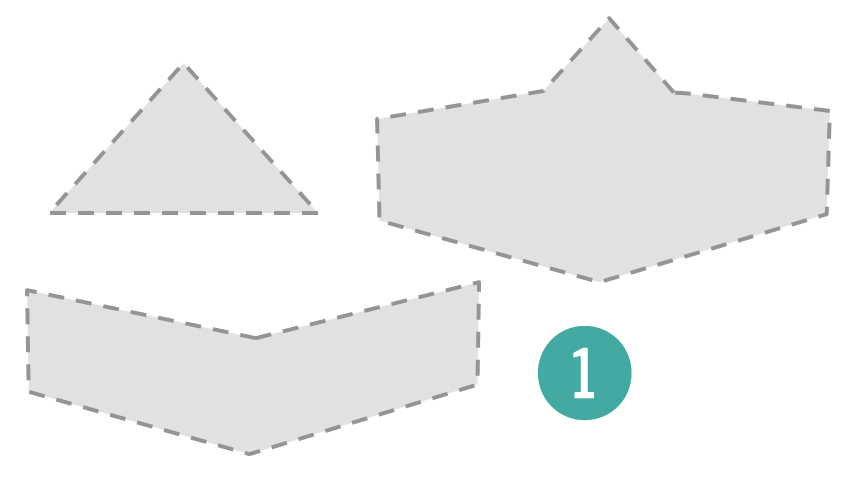
1. Teken de drie patronen op het viltlapje en knip en uit. // Draw the three patterns on your cloth of felt and cut them out.

donderdag 6 december 2012

DIY Kussensloop met overslag


Toen ik me voor het eerst te oud voelde om met mijn ouders op vakantie te gaan, maar mijn ouders me te jong vonden om me alleen thuis te laten, logeerde ik een zomer bij mijn oma. (Bij mijn oma logeren vond ik blijkbaar stoerder dan met mijn ouders op vakantie te gaan ;)). In deze zomer leerde mijn oma mij breien. Ik kreeg een hele zak vol met wolresten en en zat urenlang een sjaal te breien. Maar mijn oma kon niet alleen goed breien. Ze was ook jarenlang lid van een naaiclubje. Elke week kwamen de dames bij elkaar om samen te naaien. Dit jaar is het clubje van mijn oma gestopt, omdat de meeste van de leden inmiddels te oud zijn. Daarom staat nu één van de naaimachines op onze slaapkamer. Vorige week ben ik hem voor het eerst gaan gebruiken.                                                                                                                                 

Ik had namelijk al een tijdje mooie stof thuis liggen, die ik besteld had om kussensslopen voor onze bank te maken. Omdat ik het inzetten van een rits nog niet echt aandurfde, maar de kussenslopen wel graag zou kunnen wassen als dat nodig is, koos ik voor kussenslopen met overslag (wordt ook wel eens hotelsluiting genoemd). Het was best lang geleden dat ik voor het laatst achter een naaimachine heb gezeten, maar het wende gelukkig snel weer en ik ben best wel blij met het resultaat. Lees verder om te zien hoe je zelf een kussensloop met overslag kunt maken. 

 
//When I felt too old to go on vacation with my parents, but my parents thought I was too young to stay home alone, I spent a summer at my grandma's house. This summer my grandma teached me how to knit and I spent hours knitting a scarf. But knitting wasn't the only thing my grandma was good at. She also used to be member of a little sewing club. The ladys met once a week to sew together. This year however the sewing club stopped, because most of it's members are too old now. One of their sewing machines is standing at our appartement now. Last week I used it for the first time.

A while ago I had already ordered some fabric to make pillowcases for our couch. Because I didn't dare yet to insert a zipper but nevertheless wanted to be able to wash the pillowcases, I opted for pillowcases with an envelope back. It has been quite a while since I have been sewing with a sewing machine the last time, but luckily I get used to it again quickly and I am pretty happy with the result. Read on to see and read how to make your own pillowcase with envelope back.//